RePitch 1.3 User Guide Publication2

RePitch Quick-Start for Logic Pro X


Quick Start for Logic Pro X and DAWs using AU Plug-ins

To see an up-to-date List of DAWs compatible with RePitch - Click Here


Warning
Ableton Live and other DAW users:
If your DAW supports both the VST3 and AU Versions of RePitch, only use the VST3 version.


(i.e. Do NOT use the AU version of RePitch if a VST3 version is available )


Overview

In this Quick Start Guide, you will learn how to:

  • Set up a transfer of audio into RePitch from Logic Pro or your other AU -compatible DAW.
  • Use RePitch to process your audio, and
  • Return the processed output to your DAW.

We won’t go into written details on how to apply processing in RePitch, since that is described in both the 'Using RePitch' sections of the main User Guide as well as the videos listed in this section.


Two Plug-in Versions

The RePitch installer provides two versions of the RePitch Audio Unit (AU) plugin, which is used by Logic Pro X (and some other DAWs):

The versions are called  RePitch AU and the newer RePitch AU (ARA). 

  • The versions mainly differ in the way audio signals are brought into RePitch and how the RePitch Output is returned to the DAW.
  • Once the audio has been captured in RePitch, both versions feature essentially the same processing controls, presets and parameters, and are identical in terms of the end results they deliver.
  • However, there are some operational benefits for each version, described next.


RePitch AU (ARA) version

This version only runs in Logic Pro X 10.7.3 or later.

  • The AU (ARA) plug-in is applied to the track and the audio is “Captured” directly using an instant digital transfer process via ARA (Audio Random Access).
  • The main advantages of this approach are that the capture is faster, the time scale and playhead of RePitch follows the same in Logic Pro, and you can later bounce the processed audio to disc.
  • The main disadvantage is that in Logic Pro, you must press the space bar regularly to update the ARA audio database.
  • It's important to understand that the ARA version loads as a single 'extension' in Logic Pro, and although it might appear that you're adding the plugin to each discrete region being processed, you are in fact adding those regions to the same single instance of RePitch ARA.
  • On Apple Silicon (M1, M2, etc) Macs, the ARA version currently only works in DAWs running in Rosetta mode.


RePitch AU version 

This version runs in Logic Pro 10.4.0 and later.

  • The AU plug-in version uses Real-time audio capture and is also a track insert plug-in. It involves making a real-time playback from the track into the RePitch AU plug-in.
    • The main advantage of this approach is that you can start and stop the capture of the audio at any points in your session.
    • Plus, you can set up multiple tracks with RePitch and do the capture in all of them simultaneously.
    • The main disadvantage are that if you export the Output to replace the input,  it removes the plug in, and there is no undo to restore the plugin to modify the processing.


Installation and Initial Setup

  • You should have already downloaded, installed and authorised the RePitch plug-in on your Mac computer.
    See Installation and Authorization if you haven't done this.
  • It’s also necessary to make Logic's track selection automatically follow the selection of audio regions. 
    • This may already be set up but, if not, in Logic Pro, open Preferences > General, and select the Editing tab at the top.
    • In the Editing page, enable ‘Select tracks on Region/Marquee selection’.


Videos showing how to use RePitch


Warning

  • The Videos listed first below are mainly using the AU ARA version of RePitch 1.1
  • Please see What's New in RePitch 1.2 to understand the main differences.
  • We will gradually add new videos to our website, so check here from time to time


Videos specifically for Logic Pro owners Using RePitch


Useful Tutorials (but not using Logic Pro)


Videos Showing how to use RePitch to make Guide tracks for VocAlign Ultra


Using the ARA version of RePitch

Warning

THE FOLLOWING ARA INSTRUCTiONS ARE ONLY FOR:  Logic Pro X 10.7.3 and later.

If you don't have these versions, you can skip the ARA instructions and click HERE to jump to AU Real-Time Capture instructions for Logic Pro 10.4.0 and above.


Information

If you’re using an Apple Silicon Mac (M1), rather than an Intel-powered model, you’ll currently need to switch Logic Pro to Rosetta Mode to use the RePitch AU (ARA) plugin.

To do this, right-click the Logic Pro application in your Mac’s Applications folder, select Get Info, and check the ‘Open using Rosetta’ checkbox.


Let's Start Processing with ARA


  1. Load a Project with a track whose pitch you wish to modify.
  2. Add RePitch AU (ARA) as THE FIRST AUDIO FX plug-in on the Track you wish to process.
      
  3. To do this, select in above drop-down:  Audio FX > Audio Units > Synchro Arts > RePitch AU (ARA) as shown below.


    Note: Once RePitch is added, it will appear in the list of "recently used" plug-ins that will appear at the top of this list.

  4. RePitch should open and look similar to the DAW screen picture below the next picture.

    Note:
    You might also see in the screen center this message:
    "Press play in Logic to load the track's audio into the Plug-in"

There are a number of small things to point out on your first viewing of the screen.

  • Firstly, if you see a red exclamation mark over the Settings button  as above, it means a new version of RePitch is available.

Go to www.synchroarts.com/downloads , and download RePitch, install it and close and restart Logic Pro.

  • Secondly, if it is the first time you have run Repitch, the Macro selector at the top of RePitch will look like this:

    At some point, make sure you read Using and Selecting Macros, but for now you can continue with this section and simply select a Macro as described next.

    In order to see how the automatic tuning works, we suggest you make select the Chromatic scale is selected (as shown below) and click the Macro button shown above and start by selecting this Macro: 


The resulting RePitch window should still look similar to the one previously or also next one below.

  • After startup, the empty screen and sometimes a red exclamation mark to the right of the Macro control indicate that audio needs to be loaded into RePitch.

Loading Audio with ARA

  1. To load the audio in the ARA version, Logic Pro requires you to start and stop playback in Logic Pro using the Spacebar or transport buttons.

  2. Once you have done this, you should see something like the following appear in RePitch.


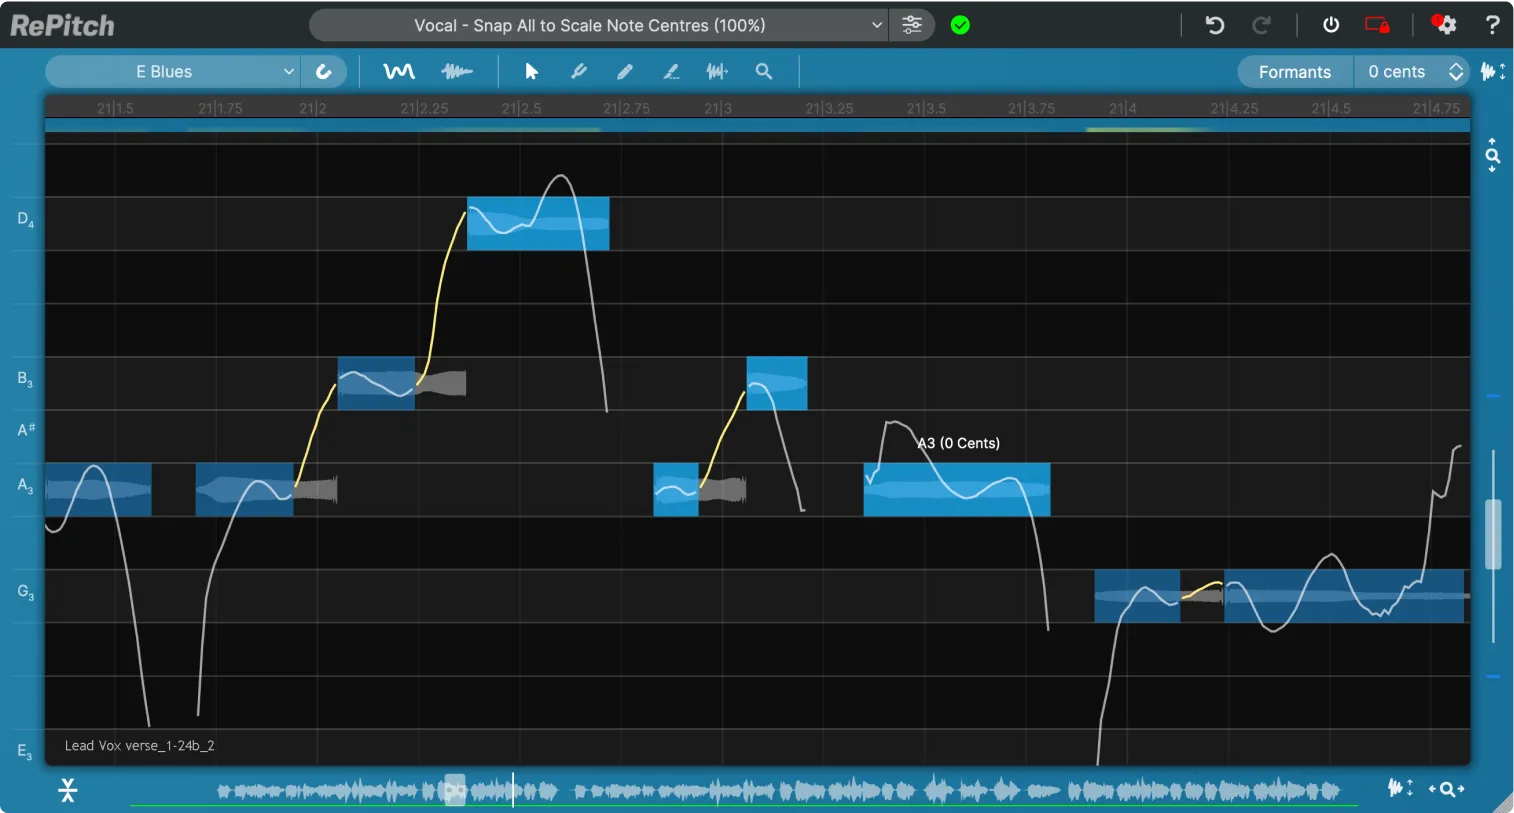
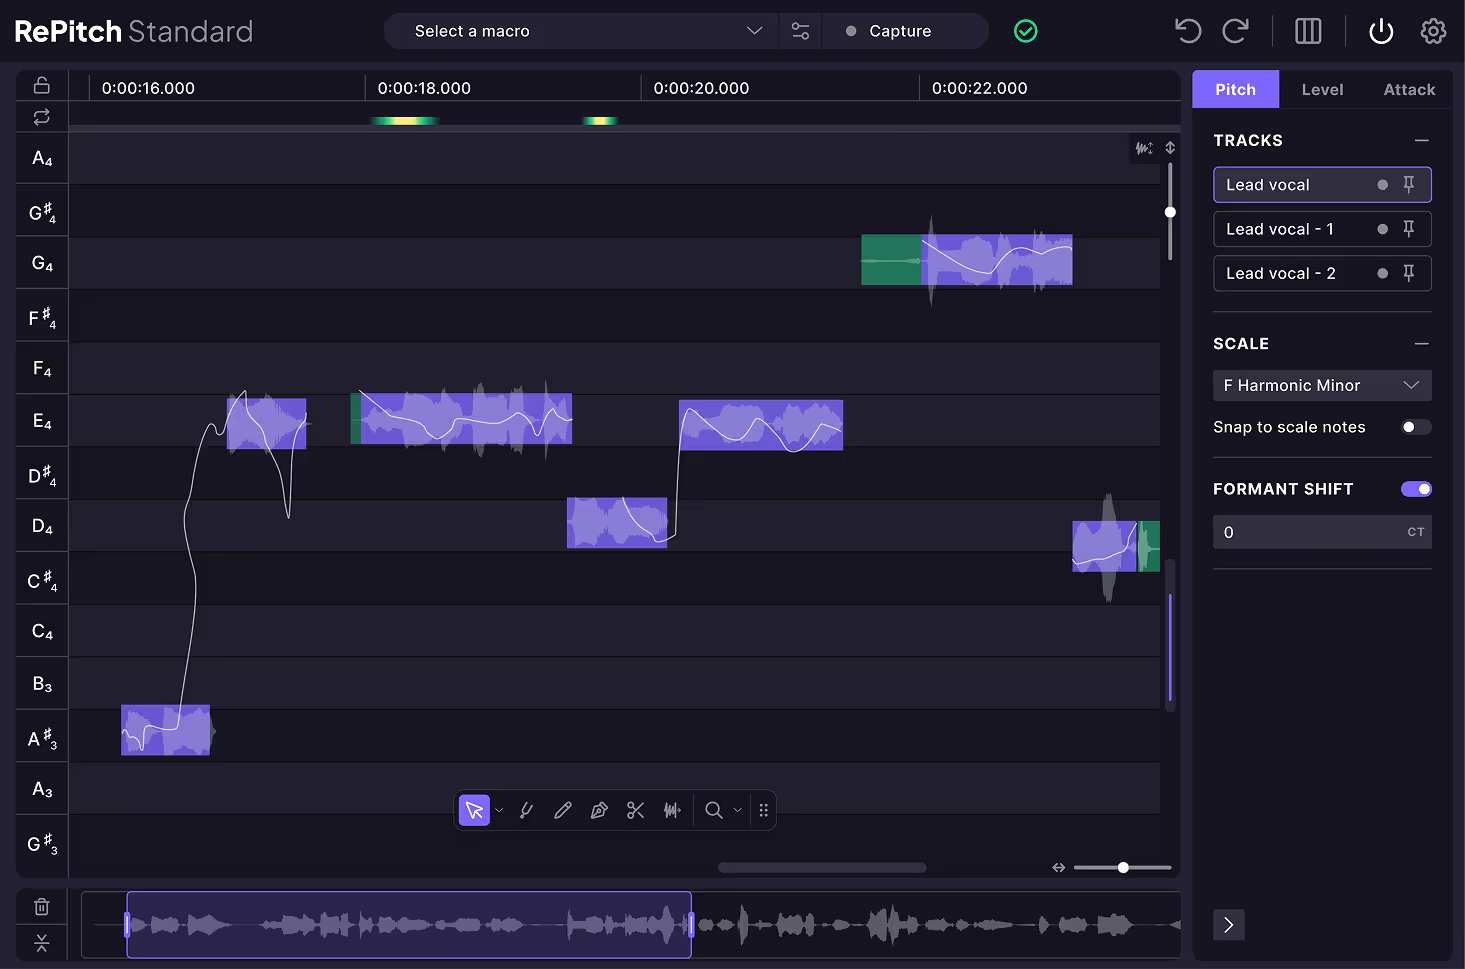
In the picture above, RePitch has already processed the captured audio based on the currently selected Macro, so the blue note blocks are shown automatically tuned by centering them into the Note Lanes of the Chromatic Scale.

The white lines show the new pitch pattern and the feint red pitch lines show the original pitch.

You could have also chosen the Macro below:


This Macro would automatically detect the most likely tonic and scale from the notes in your audio track, and then move the detected note blocks in your audio to that Measured (i.e. detected) scale's note frequencies. 

If you want to add your own Scale to be selected and tuned to, simply click the Scale display control shown below


and when this menu opens


Click Scales... and you'll see the window below

In the line that says Scale at the left, click the drop down menus to add your Tonic and Scale Mode and then click Add and then Save

Your added scale should now be in the Scale window.

Now make sure the Macro is set to Snap Notes to Selected Scale and all further audio captures will use that scale and Macro automatically.

Scales are described further in this section.


How to choose Manual Editing

Generally, you'll want to select one of two primary automatic tuning options above  or the no-editing Macro below.


The Macro above applies no automatic processing at all, leaving you free to make corrections and edits manually. 

  1. It's important to understand that once you've selected a Macro, you can change the Macro or Scale before you use it on the next captured audio or before you re-run the new Macro on the captured audio.

  2. If you have already run a Macro, switching to another Macro and running it by clicking "yes" in the window below will always discard all existing processing, so you will see the confirmation dialog below. 

  1. If you’ve not done any manual editing or want to start over, click YES.
  2. If you click NO, you will see the changes made on screen, which will show the Scale and setting to be used in the next application of RePitch's processing, whether with a Macro or Right Click menu.

Macros are described further in this section


Playing Audio in RePitch

We will BRIEFLY describe how audio is played and looped in RePitch. 

  • To start playback within RePitch only, double-click in the RePitch Main Window.  
    To hear the track, it needs to be NOT muted in your DAW.
  • If RePitch is playing, to stop playback at the position of the mouse cursor, double-click in the Main Window.  
  • You can also Stop playback by pressing the Spacebar, which tells your DAW to stop playback. 
  • Note that RePitch’s playhead is slaved to the DAW's, so starting and stopping playback in the DAW also starts and stops playback in RePitch.
  • In ARA mode, moving either playhead on the timeline also moves the other to match.

Playback Loops can be set and used while you are editing to restrict and repeat the range of playback. These are described further in this section.


Edit your Audio in RePitch

To learn how to edit the Pitch, Time and Level of your audio go to the main section of the User Guide:
       
"
Using RePitch"


The following sections are further details you can come back to or read now. 

Settings Menu

In AU DAWS using ARA, these are the options for RePitch in the Settings Menu, shown below.


Click Here for an explanation of the four Display Options in the menu.

Click Here for an explanation of the Audio Save Locations


TIPS on modifying the RePitch Window: 

You can scale RePitch to almost any size to see the Logic Pro window better, by dragging the striped triangle in the bottom right corner of the plug-in window.

You can also make the Logic Pro Plug-in header smaller by clicking the button in the top right of the Plug-in window shown below.


Using RePitch with VocAlign Ultra

Click here to learn how to use RePitch with VocAlign Ultra


IMPORTANT REMINDER FOR USING LOGIC PRO WITH ARA PLUG-INS 

  • Always remember that it is essential to start and stop playback in Logic Pro after editing your project or changing a region selection. 
    • This ensures thaRePitch AU (ARA) (and all other ARA plugins) are updated correctly.
    • This is a requirement of Logic Pro rather than a design decision of Synchro Arts. 
    • The quickest way to start and top playback is to simply tap the Spacebar twice before you press either Capture button in RePitch.

 THIS IS THE END OF INSTRUCTIONS FOR ARA MODE


Using real-time capture with RePitch AU in Logic Pro X

Many of the instructions below will be similar to the ARA version, so please read through that first for many details common with the ARA version will not be repeated below.

Before Capture

  1. Add the RePitch AU plugin as an Audio Effect on the track containing the audio you wish to process, via Logic’s Audio FX menu as shown above for the ARA version
    1. The red exclamation mark to the right of the Macro control indicates that audio needs to be loaded into RePitch
    2. If you see a red exclamation mark over the Settings button, it means a new version of RePitch is available on www.synchroarts.com/download 
  2. Once the plug-in is added, you should see the RePitch interface similar to that below.
    1. You can manipulate the size with the lower right hand window corner grab point.


  1. Select the RePitch "Factory" Macro that best describes the pitch range of your audio and the processing you want to apply or not.
    In general you would be selecting one of these three Options - the first does no processing and the next two will use the scale described.

  2. You will also be able to create User Macros that can do even more.
     
  3. Below, we show the Macro that will use the Selected (Chromatic) scale and snap the notes to that after the Capture takes place.


  4. Move the playhead in Logic to the point at which you want your capture to begin, or set Logic’s Cycle range to encompass the whole area to be captured.


  1. Click the Capture button in the instance(s) of RePitch that you want to capture into. The Capture button will change to Stop and the plug-in(s) will wait for audio input as shown below.


  1. Start playback of the audio in Logic by pressing the Spacebar or transport key and capture will begin as shown by the red light next to the Stop button.

During Capture

  1. RePitch will display the audio waveform as it is being captured.


  1. To STOP Capture, press the Spacebar or the RePitch Stop button.
    1. RePitch will stop capturing automatically if the audio loops back to the beginning while playing.
  2. After capturing,  the audio will be processed using the (Macro’s) settings, as represented by waveforms, pitch traces and note blocks in the Main Display.
  3. If the Macro has been set to No Pre-Process (Manual Editing Only), the blue note blocks will be left unedited and not centered in the Note Lanes, as shown below.


  1. If the Macro has been set to process the notes following capture (as in the example below with "Normal Pitch Range - Snap Notes to Measured Scale")  RePitch will shift each notes' computed “heard pitch” to the grid of the manually or automatically selected Scale “Note Lanes” if Snap is on. The result will look something like this:


Processing and Auditioning the Audio in RePitch

Because RePitch is a Audio FX plug-in, anything you do in RePitch to alter the audio will be available in the track after processing is completed, as shown by the absence of a red-line across the top of the Main Window and this process completed symbol:    .

How to use RePitch to modify and process the audio is described starting in this section of this User Guide.

To Bypass RePitch Playback, toggle the Bypass switch 

Warning
In the current version of RePitch, the Bypass switch does not bypass the processed audio if you use Double Click to start playback


Click here to find out how to use RePitch with VocAlign Ultra

And finally…

There's always more to learn, so head to the sections of the full User Guide at the left in the Using RePitch folder, for much more information on RePitch's controls and display.