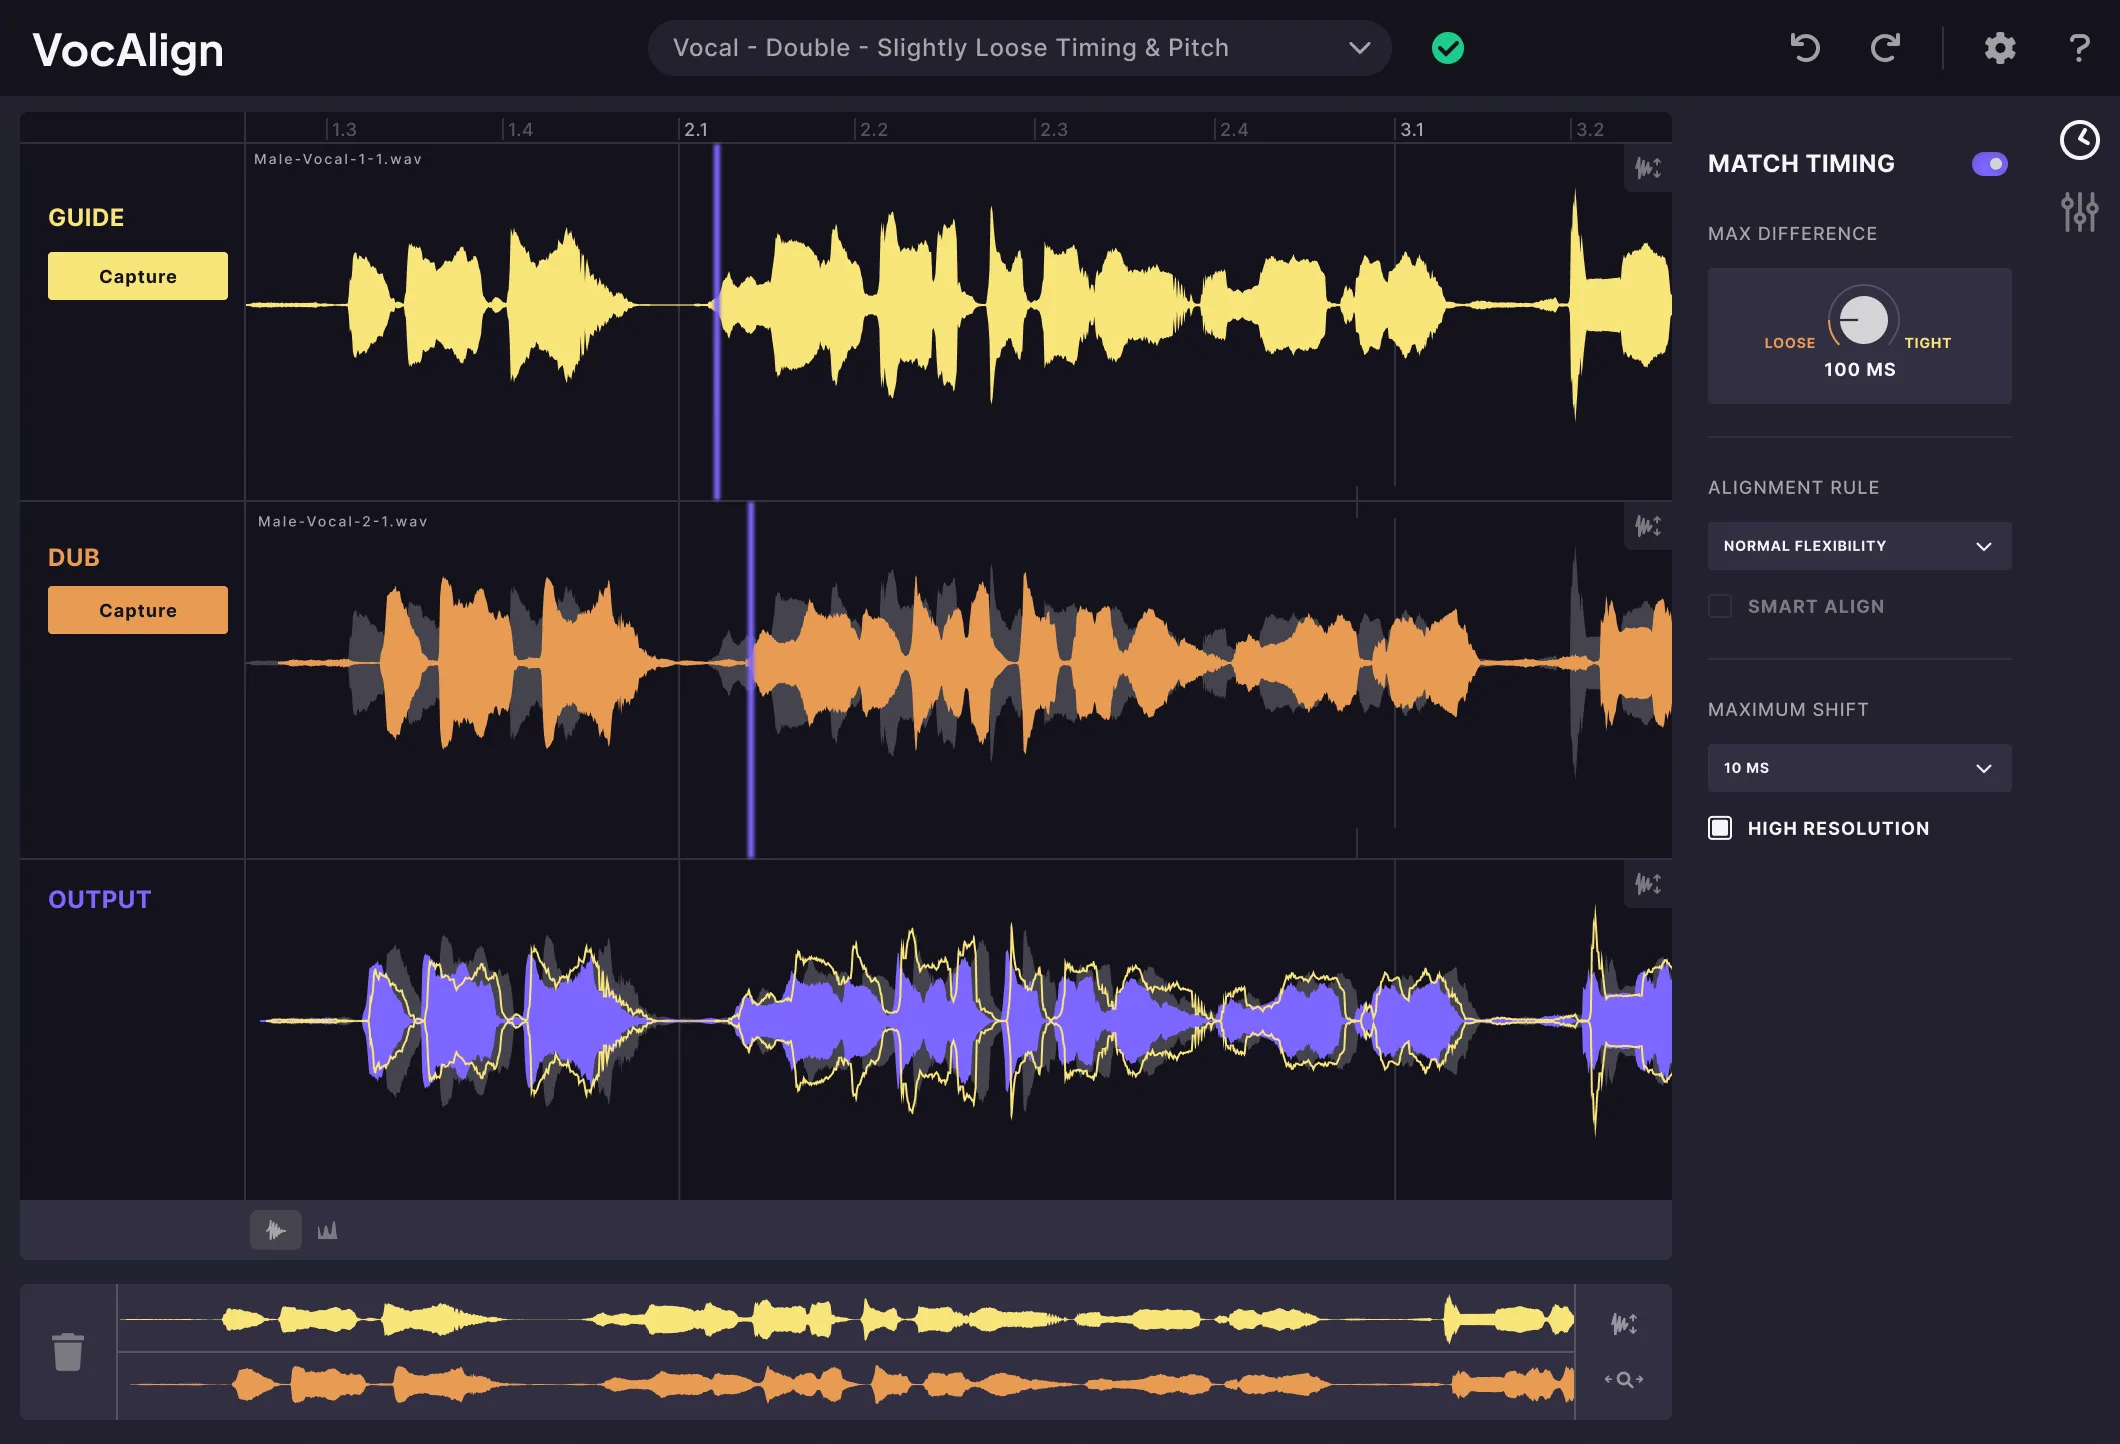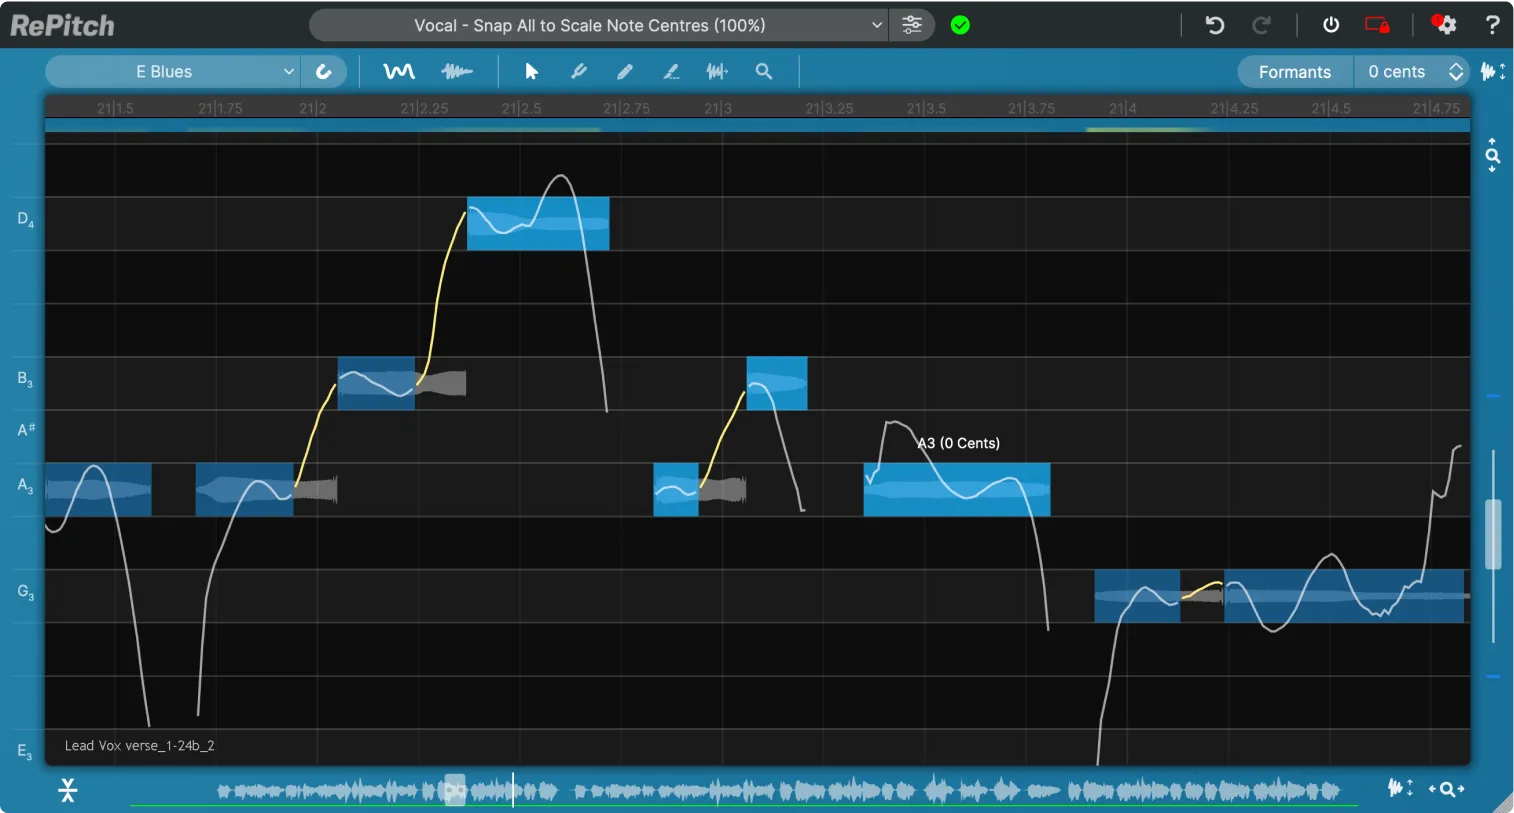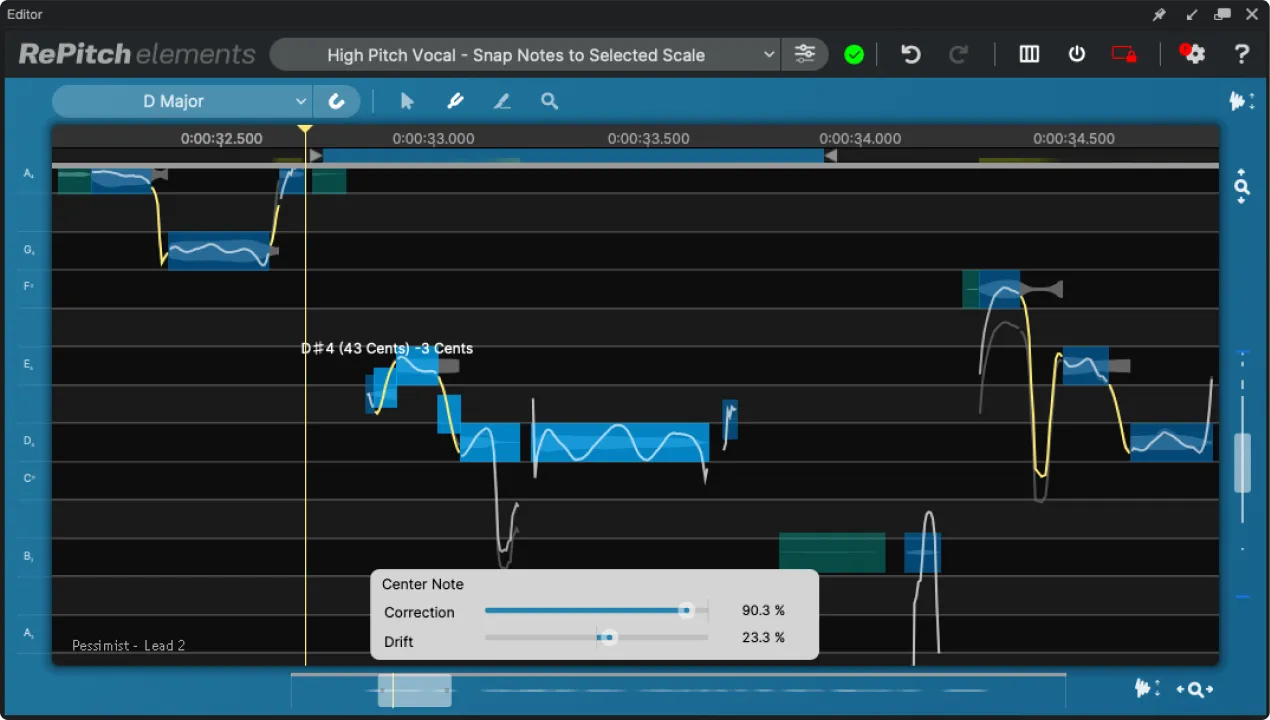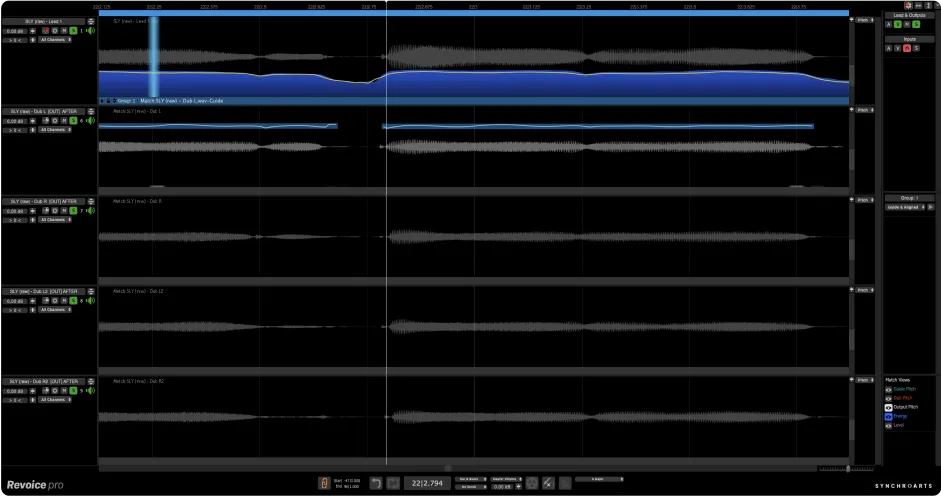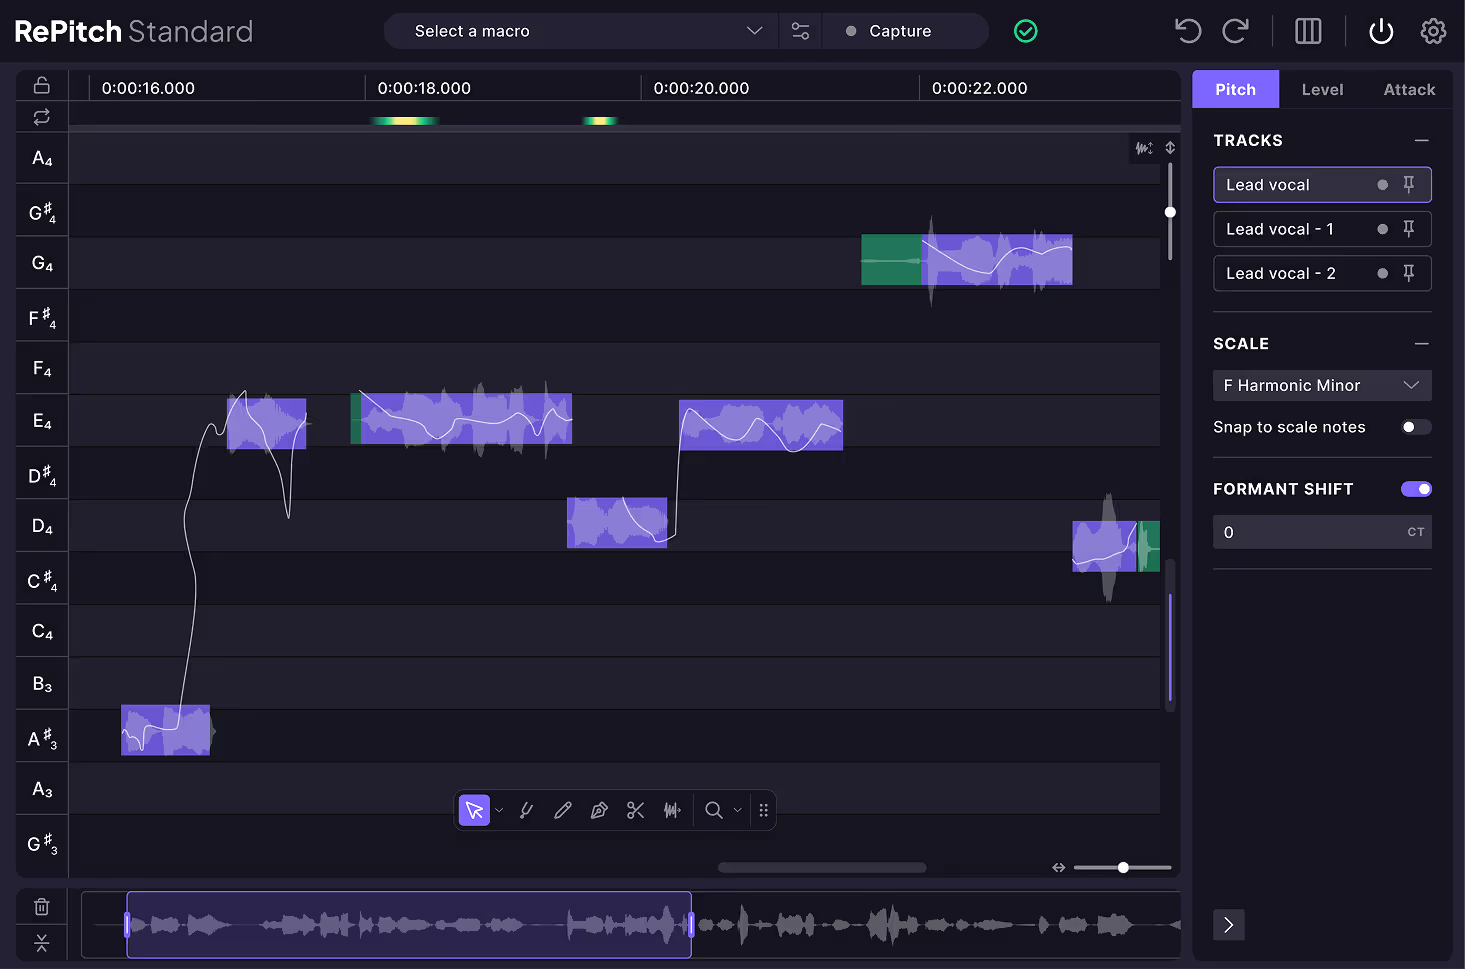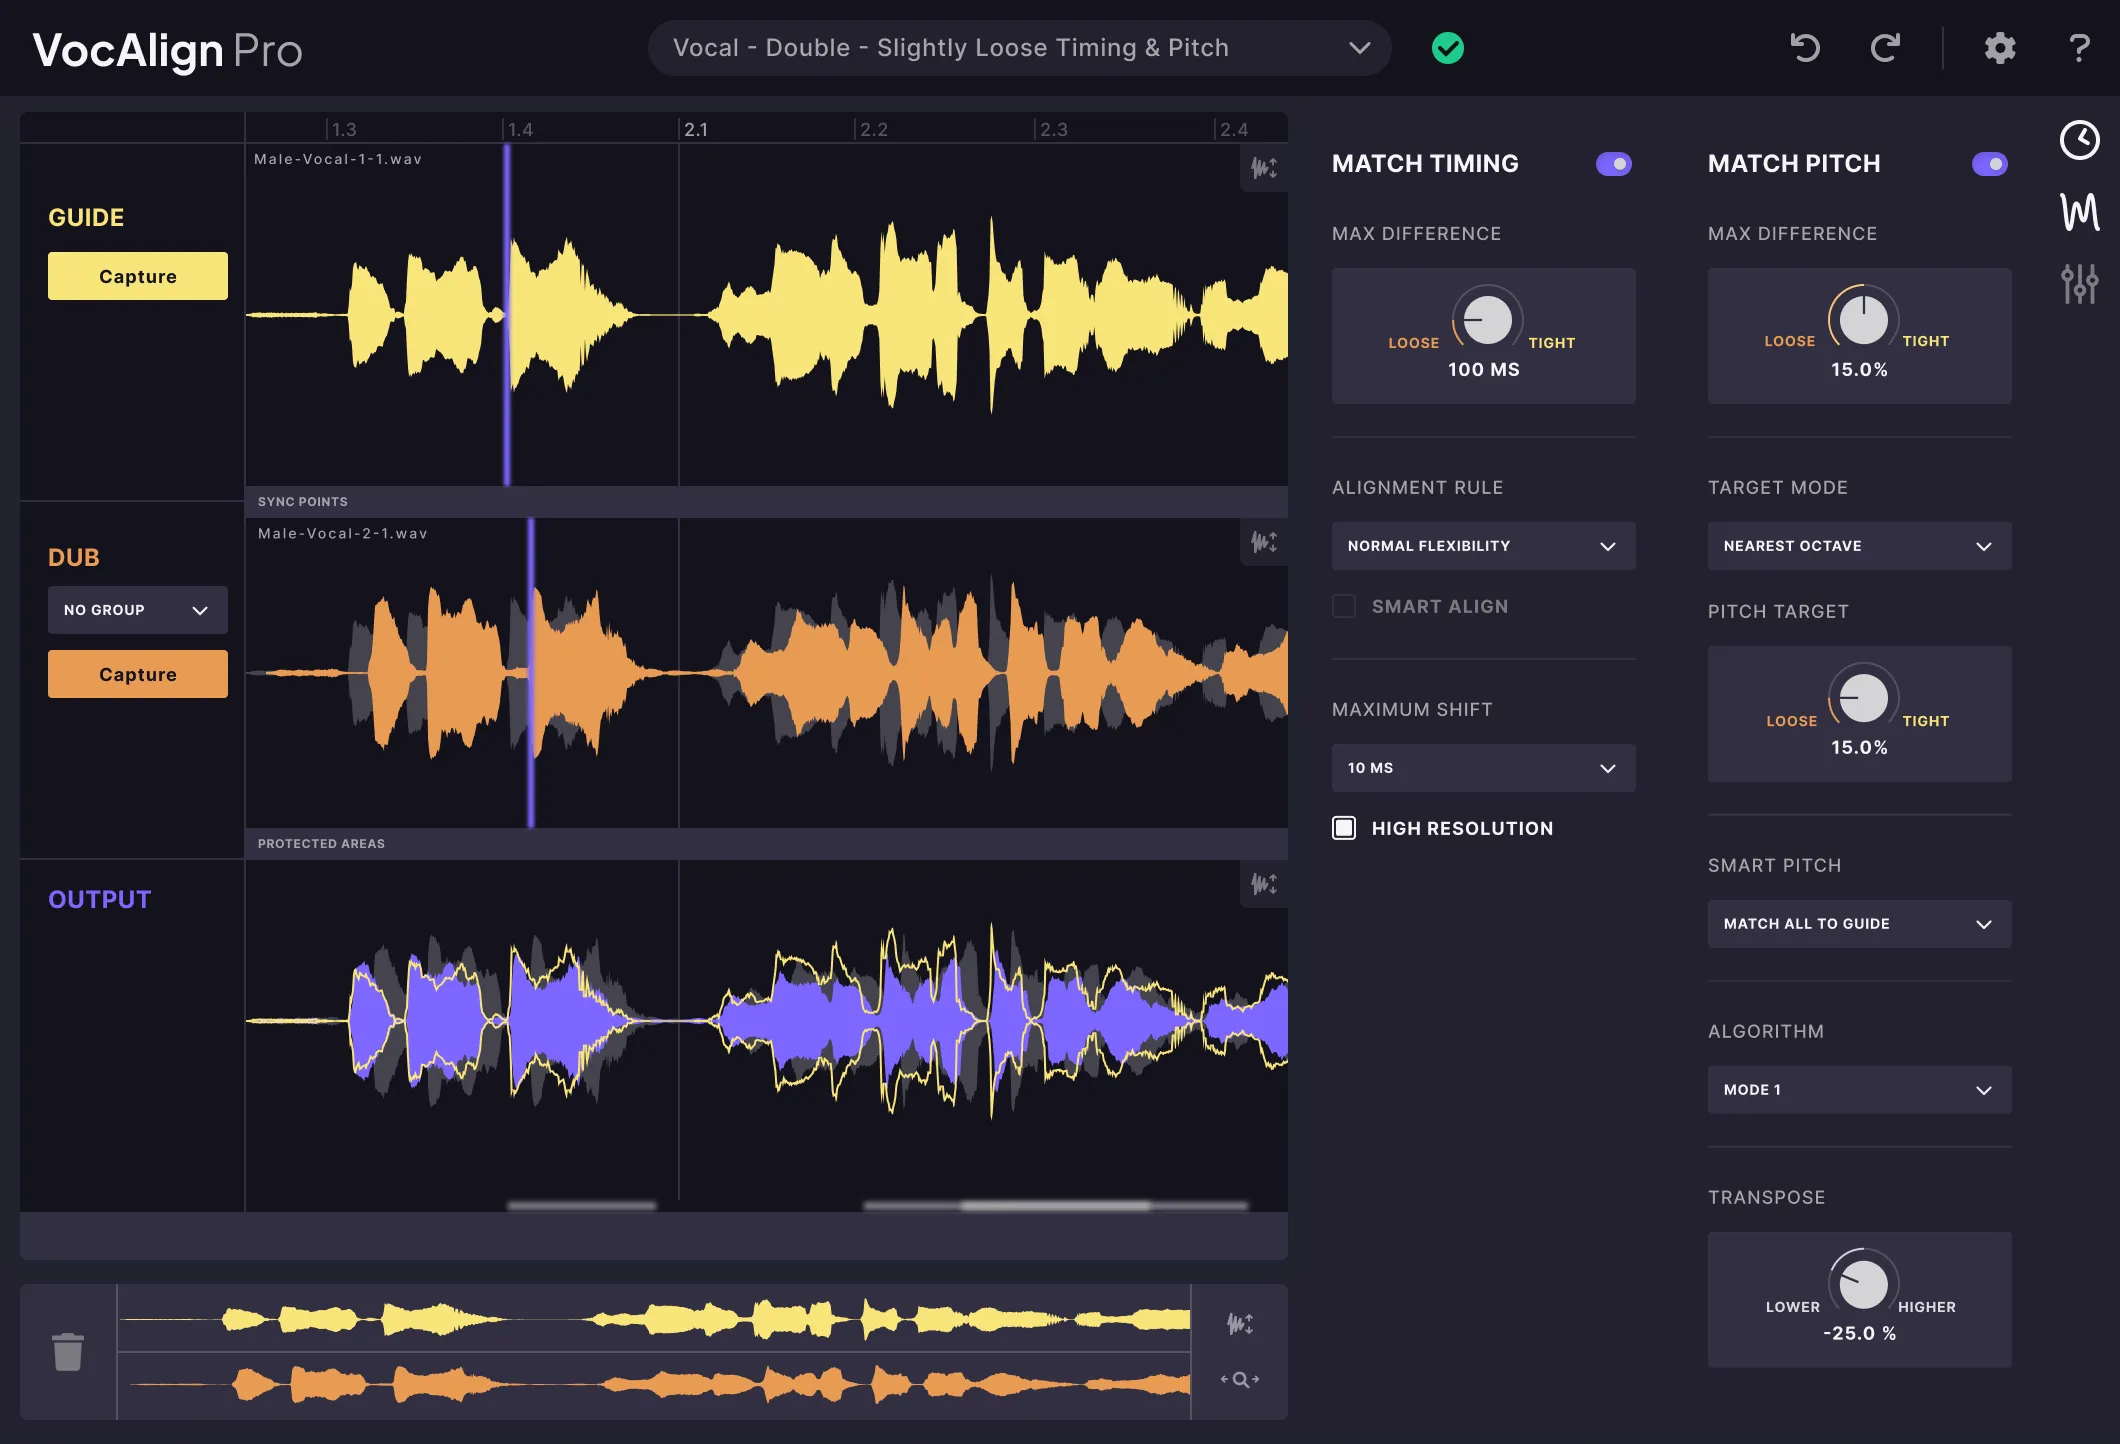
We will first show an example creating a Warp Process using two selected and separated audio regions as shown below. 


For details of functions common to all Processes see Basic Process functions. This explains a number of the points mentioned below.


When setting up a Warp Process, you need to specify:


  1. That the "Selected Process" is a Warp process
  2. Which track is the Input
  3. Which track the Output should go to
  4. What is the range of the Input signal
  5. What are the Warp process settings (Process Control Panel)


Revoice Pro chooses these settings for you automatically when you have done the same processing previously, and when you set a Playback Range or create new tracks.


There are, though, many times that these settings will need to be altered.

If you do not see the New Process window (shown in the image below on the right), then you need to open it. There are two ways to do this.


1) RIGHT CLICK in any Process Control Track and select New Warp.

2) Make sure the Revoice Pro session window is selected and press the B key on your keyboard. This will open the New Process window as shown below. LEFT CLICK the Selected Process drop down to select Warp. Pressing the B key again will close the window - but it is often more efficient to leave this window open.


Revoice Pro automatically preselects all of the drop down menu items in the New Process window. We briefly explain each drop down option used in this first example, in which none of these settings will need changing.


Warp Region - New Process Window


Selected Process: is correctly set to be a Warp process. (It will be what was previously selected until you change it).


Initial Input Start and End: the New Process window has correctly chosen the Selected Audio (which is the audio shown in green) from start to end. You could alternatively use a Playback Range to highlight time periods of the audio to be processed, rather than relying on automatically selected audio.


Further options for setting this can be found in Setting a Process Control Block.


Presets: you can change the Warp process settings before creating the process. If nothing is changed, then the current User Default Preset will be used. You can choose from one of the provided Factory Presets in the Presets drop-down menu, as a good starting point for processing typical programme material. Alternatively you can select the "Default" setting. (See Process Presets.)


Inputs: the Input is currently set to Lead Vox, to which the source audio has been loaded.


Output: the second track, Audio 2, has been selected. (It will be automatically set to the latest new audio track that was created in the session.)


Next topic