An AU Link plug-in can be inserted into each DAW track, and there is no limit to how many Link plug-ins can be inserted in the DAW. This means one or more tracks can be captured at the same, which can greatly speed up your workflow.


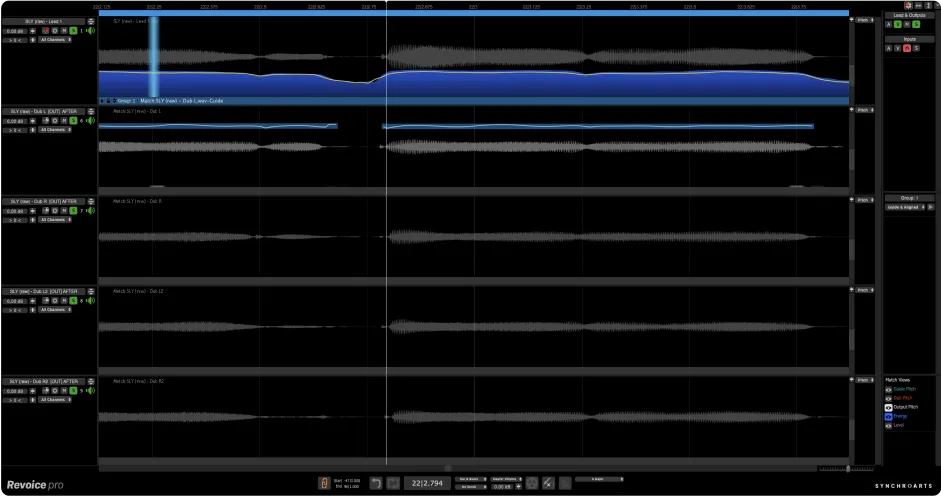
Once audio is captured to tracks in RVP, you will need to manually create your own processes in RVP, then return the processed audio to Logic.


  • In the Link plug-in window of the first track to be transferred, select the destination track in Revoice Pro. Click the destination track drop-down (orange arrow 2) to reveal a list of the track names in Revoice Pro, then from this list select the required track. The example below shows the selection of track Audio 1.


  • Repeat the plug-in insertion steps (see previous topic) and destination track selection for each Logic Pro track that contains audio to transfer.


  • Make sure Enable Capture (orange arrow 3) is pressed in all Link plug-in windows for tracks to be transferred.


  • Once pressed (capture turned on), the button will show Stop Capture indicating that the plug-in is ready to capture audio to RVP. 


  • ALL Capture switches in visible Link modules can be toggled ON or OFF by holding down the SHIFT key and by clicking any Enable Capture switch. 


  • Line up Logic Pro's play head to the start of the audio you wish to transfer and start the Logic Pro playback. All of the tracks that have Capture enabled will begin transferring the captured audio to the selected tracks in Revoice Pro.


  • An elapsed time indicator will show a running total of the duration of the audio captured as shown below.


  • When all of the audio to be captured has been played, stop the Logic Pro playback. The capture operation will stop and the captured audio will appear in the selected tracks in Revoice Pro.


  • When capture is over, all the Capture switches will automatically toggle off so you don't accidentally restart a capture. But, if you do, Revoice Pro will show overlapping audio via a warning indicator at the right of the screen and a yellow line under the area of overlapping audio.


Next topic