


%20(1).avif)
.avif)
.avif)
.avif)
Synchro Arts
Save hours in the studio with vocal processing software created specifically to enhance and simplify the processes of music producers and audio engineers.

Let's take a look at using VocAlign 6 Pro in FL Studio. Although I'm using the Pro version, these concepts can also be applied to the Standard version. Let’s dive in.
I have some vocal tracks loaded up here. Let’s take a listen:
"If I could, I would cry all your tears, wash them away, lift you up high."
Overall, not a bad performance—but there are some timing issues I’d like to fix, as well as some tuning issues that can be handled with a new feature in VocAlign 6 called Smart Pitch, which we’ll get into shortly.
You'll see I have my main lead vocal track up top, and I've already done a tuning pass. I'm happy with where it's sitting, and I want to use that as the guide to align the rest of the tracks.
In FL Studio, the workflow is a bit different from DAWs that support ARA. I’ll select the tracks I want to align and load an instance of VocAlign onto them. You’ll see I’ve already got it loaded, along with the brand-new interface—which we’ll dive into in more detail later.
You’ll notice it says "Guide from Sidechain"—this is on one of the doubles, and I want to send the lead track as a sidechain input to it. To do that, go to the lead track, right-click, and select "Sidechain to This Track." That sends the lead signal to the plugin. Repeat this process for the rest of the tracks.
Next, you need to adjust some plugin settings in FL Studio. Click the gear icon on the plugin, go to the Processing tab, and select "1" as the input—this ensures the signal is being received from channel 1. Once that’s set up, you can simply copy the plugin over to the other channels—it will retain all the correct configurations.
Since FL Studio doesn’t support ARA, we have to capture the vocals in real time. Choose any plugin instance, hold Shift, and click "Capture." Then go ahead and press play.
"If I could, I would cry all your tears away, lift you up. If I could, I would take your place."
The audio is now captured. Let’s take a quick listen—it already sounds much better and well-aligned.
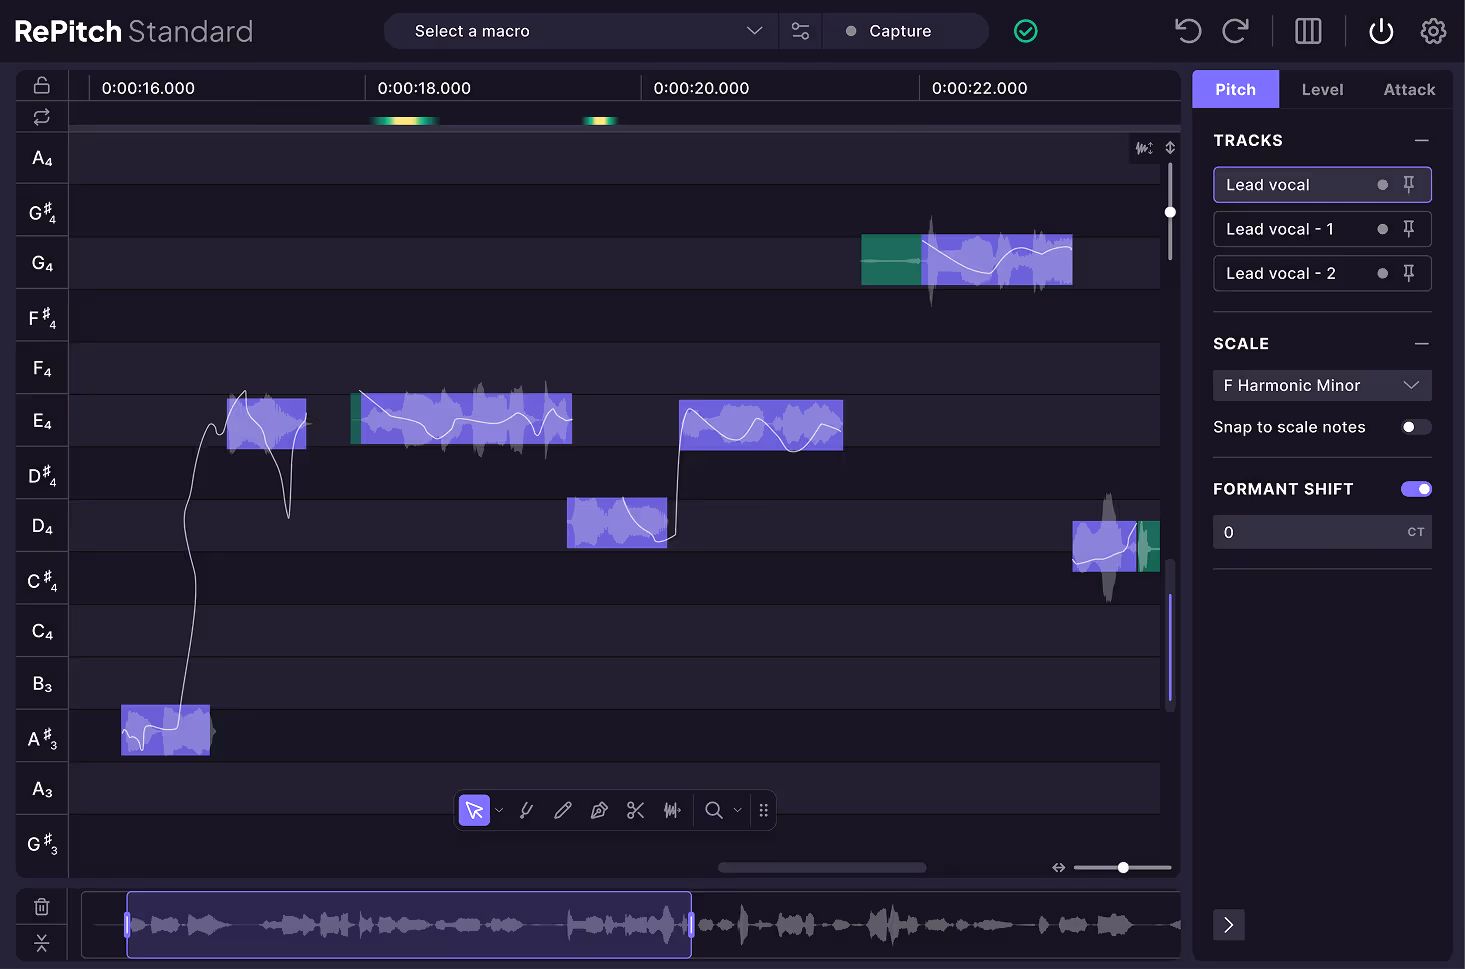
Now let’s look at the UI and navigation. You can scroll through the captured audio and zoom in or out using the drag bar. You can also resize the waveform display depending on what your audio looks like. Panels for timing, pitch, and other features can be opened or closed as needed.
Let’s toggle Match Timing on and off to see the difference. When off, the waveform drifts slightly; when enabled, it snaps perfectly into place.
In VocAlign Pro, we can also match pitch. Let’s open the Pitch tab and switch to the Pitch view. You’ll see the guide track on top and the double track below. If I adjust the pitch alignment, the waveform shifts slightly to match the guide. Setting it to “tight” conforms it exactly to the guide's pitch.
Everything’s sounding pretty solid. Now let’s go to the harmony track—track 3—and process it slightly differently. I’ll open VocAlign Pro and choose a preset: “Slightly Loose Timing + Pitch: Match Unison and Tune Harmony.”
Because this is a harmony, we don’t want it fully matched to the lead vocal—we want the harmony character to come through while keeping it in tune. Let’s take a listen:
(Before and after clips play.)
You’ll see three Smart Pitch modes available:
Now that we’ve matched the timing and pitch, let’s listen to the final result:
"Fight your pain until it’s lighter. If I could, I would cry all your teardrops, wash them away, lift you up higher. If I could, I would take your place."
It’s sounding great. But remember, we’re currently previewing the cached version from VocAlign. It’s not printed yet. If you want to do further processing or render these changes, you need to print them to audio.
To do that in FL Studio, select all the processed tracks, go to Disk Recording, and choose “Render Selected Tracks to Wave Files.” This prints the changes into new audio tracks that can be further processed with other plugins.
Click OK and Start, and you’ll see the rendered tracks appear below.
That’s how you use VocAlign Pro in FL Studio. Hope you enjoyed it, and I’ll catch you in the next one.
Save hours in the studio with vocal processing software created specifically to enhance and simplify the processes of music producers and audio engineers.
